A Low-Tide Walk with One Question in Mind
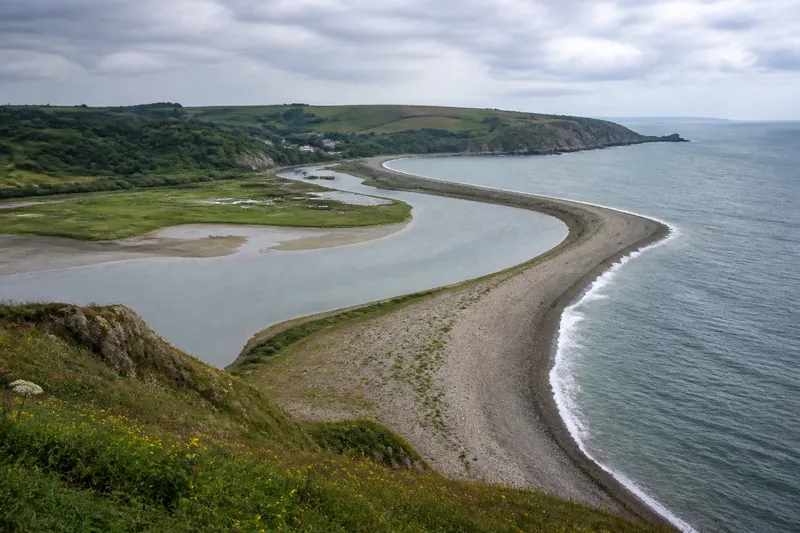
A low-tide walk reveals how the visible waterline and exposed surfaces change along shore, giving you a clear, simple record of coastal patterns.
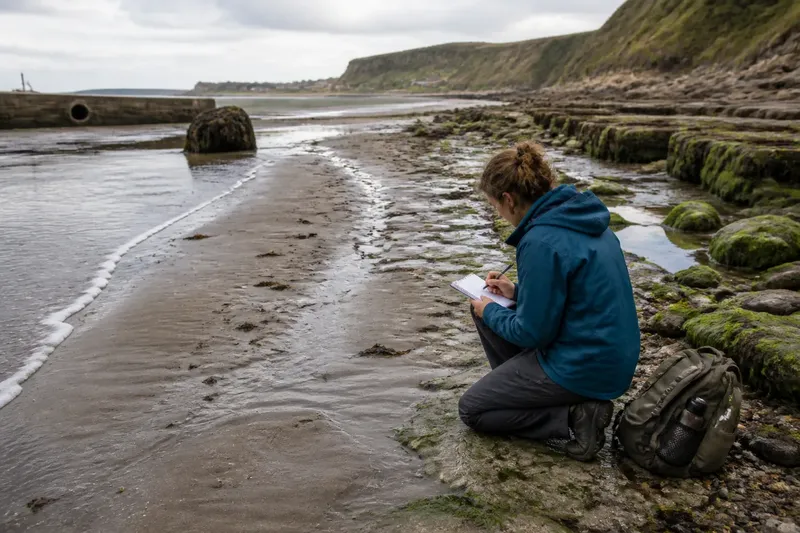
A low-tide walk is most revealing when you follow one question: how does the visible waterline change as you move along the shore? Keep that question in mind, and a broad stretch of mud, sand or rock becomes a sequence of observable details rather than a scene to take in all at once.
The aim is not to explain every mark or identify a single cause. It is to notice what changes, where it changes and what remains similar. A pocket notebook and a simple route are enough to make those observations useful.
Where does the waterline lead?
Start at a place where the edge of the water is easy to see, then walk parallel to it for a short stretch. The waterline may be a wet sheen on sand, a faint band of foam, the outer edge of a shallow pool or the point where rock changes colour. Choose one visible clue and follow it before switching to another.
Notice whether the line is smooth or broken. A sandy beach might present a clean curve, while a rocky foreshore may divide into separate edges around pools and ledges. On a muddy flat, the waterline can appear as a narrow channel that branches inland. These are different expressions of the boundary between water and exposed ground; the boundary need not be a single continuous line.
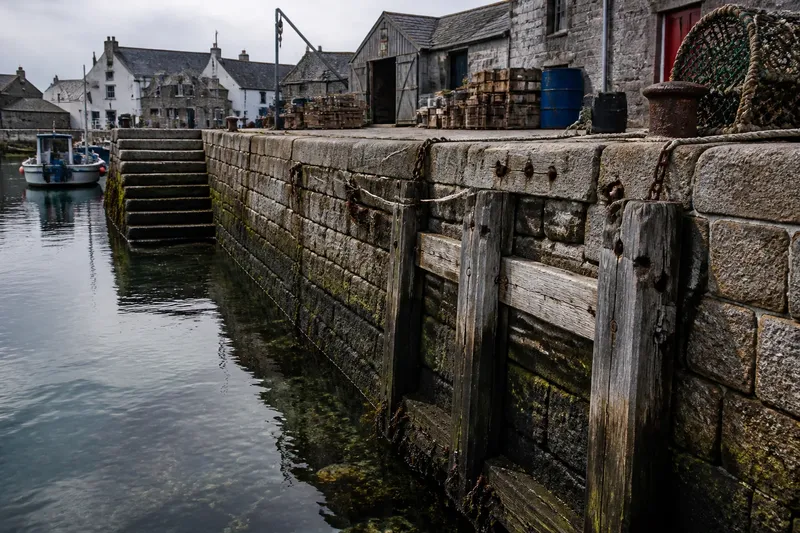
Mark a few fixed positions in your notes: a groyne, a large boulder, a seawall corner or a distinctive bend in the shore. These landmarks help you describe where a change occurs without relying on a photograph alone.
What should I note first?
Record the surface directly beside the waterline before trying to interpret it. Is it smooth, rippled, ridged, pitted or crossed by small channels? Note whether the texture continues inland or gives way to another surface. A narrow band of coarse shingle beside fine sand, for instance, is a useful observation even if you do not know how it formed.
Then note the material and its arrangement. Look for patches of shell, gravel, silt, seaweed or exposed rock. Are the pieces scattered, collected in a line or gathered in hollows? Describe what you can see in plain terms, and keep a guess about its cause separate from the description.
A brief field note could read: “Below the timber groyne, a wet, dark strip crosses fine sand; small shells gather along its landward edge.” That records position, surface and pattern without claiming why the shells collected there.
How does the surface change?
Compare the water’s edge with ground a little farther inland. Sand may change from glossy and firm to pale and loose; mud may pass from smooth patches to a network of drainage channels; rock may alternate between bare ledges and shallow pools. Describe the transition, not just the most striking feature.
Watch for repeated patterns. A series of shallow ridges, parallel bands of pebbles or pools separated by rock ribs can show how the surface is organised across the foreshore. Note their direction if it is clear: do the ridges run towards the water, along the shore or at an angle? If direction is difficult to judge, say so rather than forcing a conclusion.
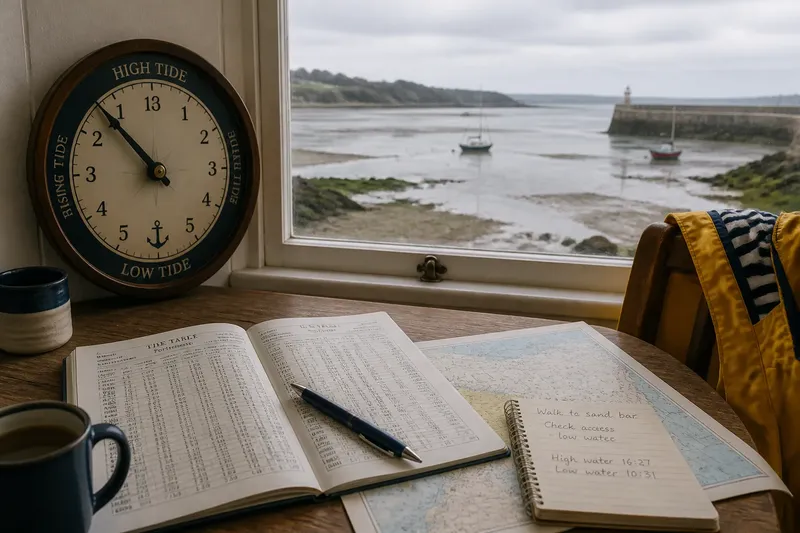
Stay on firm, accessible ground and leave animals, plants and unfamiliar objects undisturbed. Mud, pools and rock can conceal hazards, and a route that looks open at low water may become cut off as the tide returns. Local access guidance and official tide information matter more than completing a planned walk.
What changes along the walk?
At each landmark, compare the same few features: distance from the water to the upper edge of the exposed surface, texture, material and any visible channel. You are not measuring a coastline. You are asking whether the pattern seen in one place continues, narrows, widens or disappears farther along.
Say you begin beside a concrete outfall and walk towards a rocky point. Imagine the first stretch has a thin line of dark silt at the water’s edge, while the next has pale sand cut by shallow runnels. At the point, the water reaches between rock ledges and leaves separate pools. A useful record would describe those changes in order and anchor them to the outfall and point; it would not assume that one feature caused the next.
Where a surface pattern stops, note what lies at its boundary. Does a pebble band end at a rock shelf, fade into sand or continue behind a small structure? Boundaries often make the walk more informative than isolated features, because they show where one visible condition gives way to another.
How can I compare the return?
If the route and conditions allow, pause at one landmark on the way back and look at the same patch of shore. Water may now cover a feature, or a thin film may make a surface easier to see. Record what is visible at that moment, then distinguish it from what you observed earlier. A changed view is not, by itself, evidence that the ground has changed.
Use a sketch or a few words to show the order of features: landmark, waterline, surface band, then higher ground. A phone photograph can help, but include the landmark in the frame and note which way you were facing. Images without a location or direction can be hard to compare later.
Keep the note modest: “Pool visible beside the eastern ledge on return; earlier view obscured by water.” That describes the difference in observation without implying a change to the pool or ledge.
Which questions help on a low-tide walk?
Should I follow the water’s edge or the beach’s upper edge?
Follow the visible waterline for this observation routine, because it gives you a clear reference as the exposed surface changes. Note the upper edge as a second feature when it is easy to distinguish, but do not switch between the two without saying so.
What if there is no clear waterline?
Choose the nearest consistent clue, such as the edge of a shallow channel, a wet sheen or a line of foam. Write down what you used, since another visitor may identify the boundary differently.
Do I need to identify the sediment or rock?
No: an accurate description is more useful than a doubtful name. “Fine grey mud with narrow channels” tells a reader what you saw without requiring a geological classification.
How long should my notes be?
Use enough detail to distinguish one location from the next: a landmark, a surface description and one change to compare. Short notes are easier to make consistently than a full account of every mark on the shore.
What makes a useful record?
Write observations in a repeatable order. For each stopping point, note the landmark, the form of the visible waterline, the exposed surface and the most noticeable change since the previous point. Add the time or tide stage if you know it, and mark uncertainty plainly.
- Location: Name a visible landmark or describe its position relative to one.
- Waterline: Say whether it appears as a band, curve, channel, pool edge or another clear form.
- Surface: Record texture and material using ordinary descriptive words.
- Transition: Note where the pattern changes or ends.
- Comparison: State what differs from the previous stopping point or return view.
Leave a little space between what you saw and what you think it means. “Pebbles gathered below the rock ledge” is an observation; “the ledge trapped the pebbles” is an explanation to consider, not a fact established by the walk.
A low-tide walk becomes more useful when its notes preserve that distinction. Follow the waterline, name the surface patterns and record their changes in order. Later, the sequence can help you ask better questions about the shore without making the walk claim more than it showed.